How to Purify Copper Sulphate For Crystal Making and Oral Consumption

Why Purify Copper Sulphate?
There are a couple main reasons why you want to purify your copper sulphate...
1) You want to make your own giant copper crystals! Very cool to do if you've never done this before.
2) To ensure the copper sulphate you are consuming is pure... Wait what pause you drink this stuff?
3) For using as an ingredient in chemistry experiments or anything else you can think of.
For me, I personally use copper sulphate to ingest orally in tiny amounts... Yes I drink this stuff (but James you're going to die!). Let me explain, I've been following a health protocol from 'The Copper Revolution' on Facebook for over 1 year now by Jason Hommel who is the founder of the book 'The Copper Revolution' which you can find on amazon.
From Jasons work I've achieved the best health I've had in my entire life and I don't say that lightly. My struggle with health started when I was just 16 and only recently have I switched that around, I'm talking full energy throughout the entire day, feeling physically stronger than ever, zero brain fog, better memory and genuinely feeling happy. If you've ever watched the movie limitless that's the type of level my body is on these days. You can read my full story 'here (Coming soon)'.
But to cut that story short you're not here to find out about my life story your here to purify some copper sulphate, so let's dive into that!
The Purification Process
Now the moment that you've been waiting for, what is the actual process to get yourself the purist copper sulphate you can at home?
Safety First
Before we dive into anything I need to warn you about a few potential dangers first. Copper sulphate is considered a toxin to the mainstream media, I truly don't believe this to be the case but I must still mention this.
So while doing the process your about to read about please take a few basic safety precautions. These are the bare minimum
- Try and wear some type of gloves as although copper sulphate will not harm your skin it can harm your eyes. I repeat DO NOT be a silly billy and rub your eyes with your hands after messing with copper sulphate.
- Ideally you want to wear goggles, but it's not essential and I didn't wear goggles personally as it's a bit overkill but just worth a mention.
Equipment Required
- A container/tub that you can heat liquids in make sure it's either made from Pyrex glass or stainless steel. If you use other metals the copper can corrode it so stick with those two. The size of this container will depend on the amount of copper sulphate you want to purify in one go also.
- A funnel made from plastic, stainless steel or glass.
- Filter papers / coffee filters
- A dish / bowl made from either ceramic, glass or stainless steel. This will need to be a similar size to the tub to what your using to heat liquids.
Time Required
I thought I would just give a little note on the type of time it's going to take to do this process. It will take around 3-6 days but most of that is waiting around the actually part of you doing something will be around 1 hours of your time.
There is a faster method using sulfuric acid but for most of you reading this you won't be able to get ahold of this chemical so we'll have to put up with this slightly slower method.
Choosing A Copper Sulphate
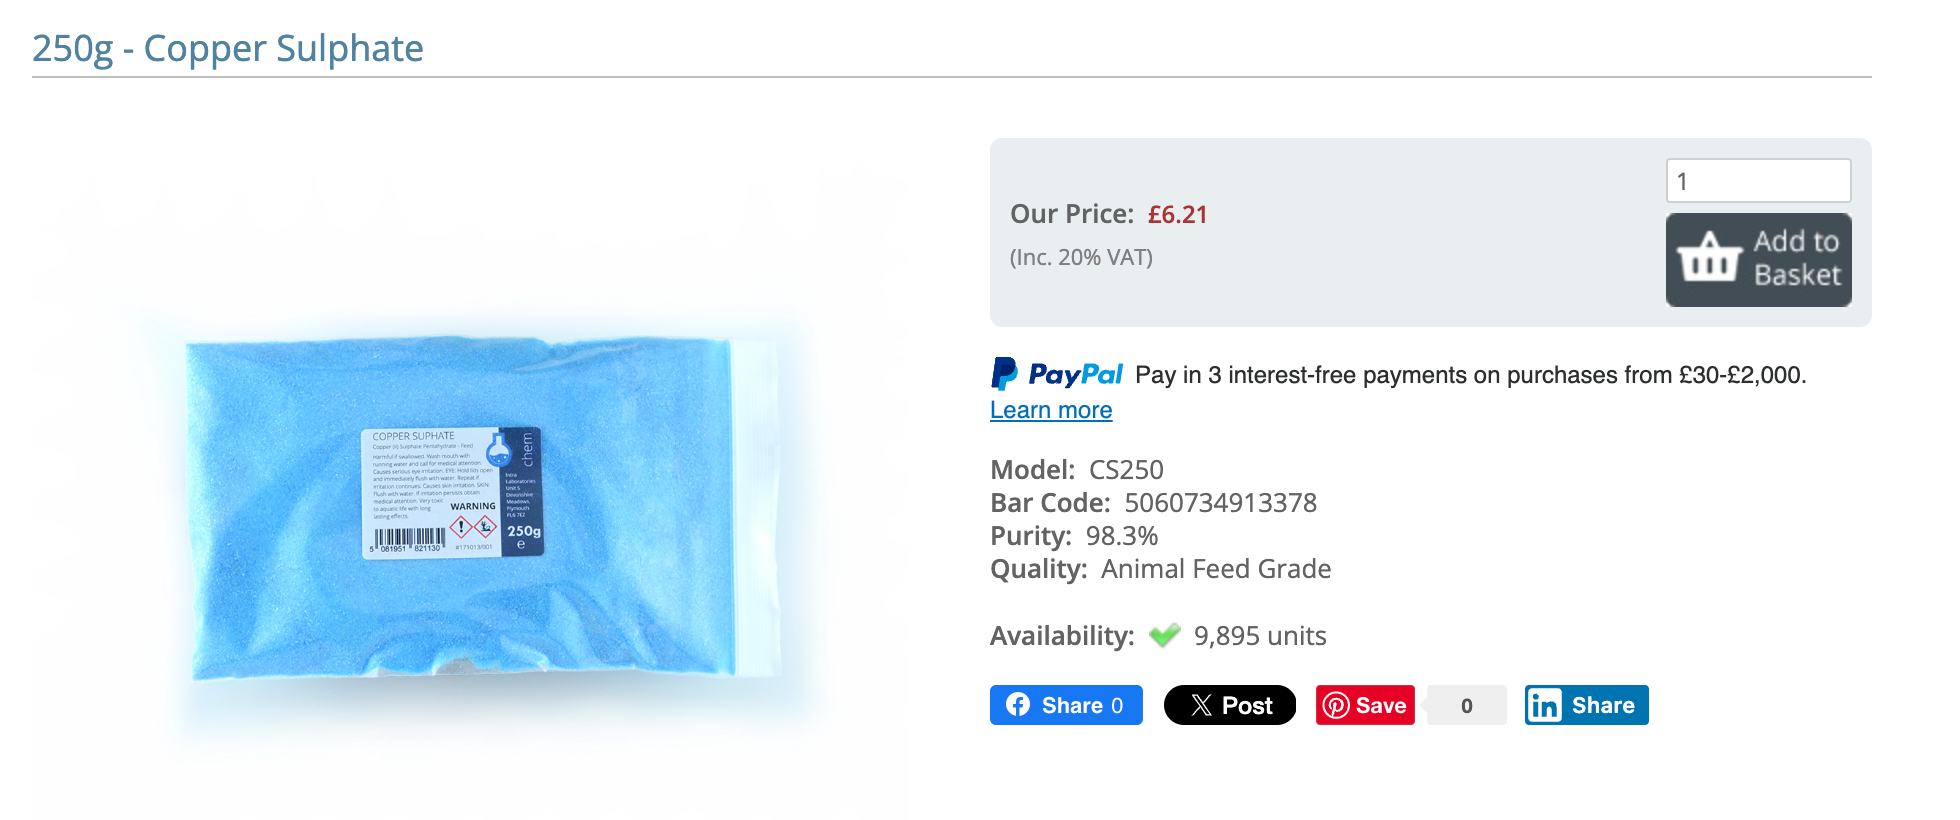
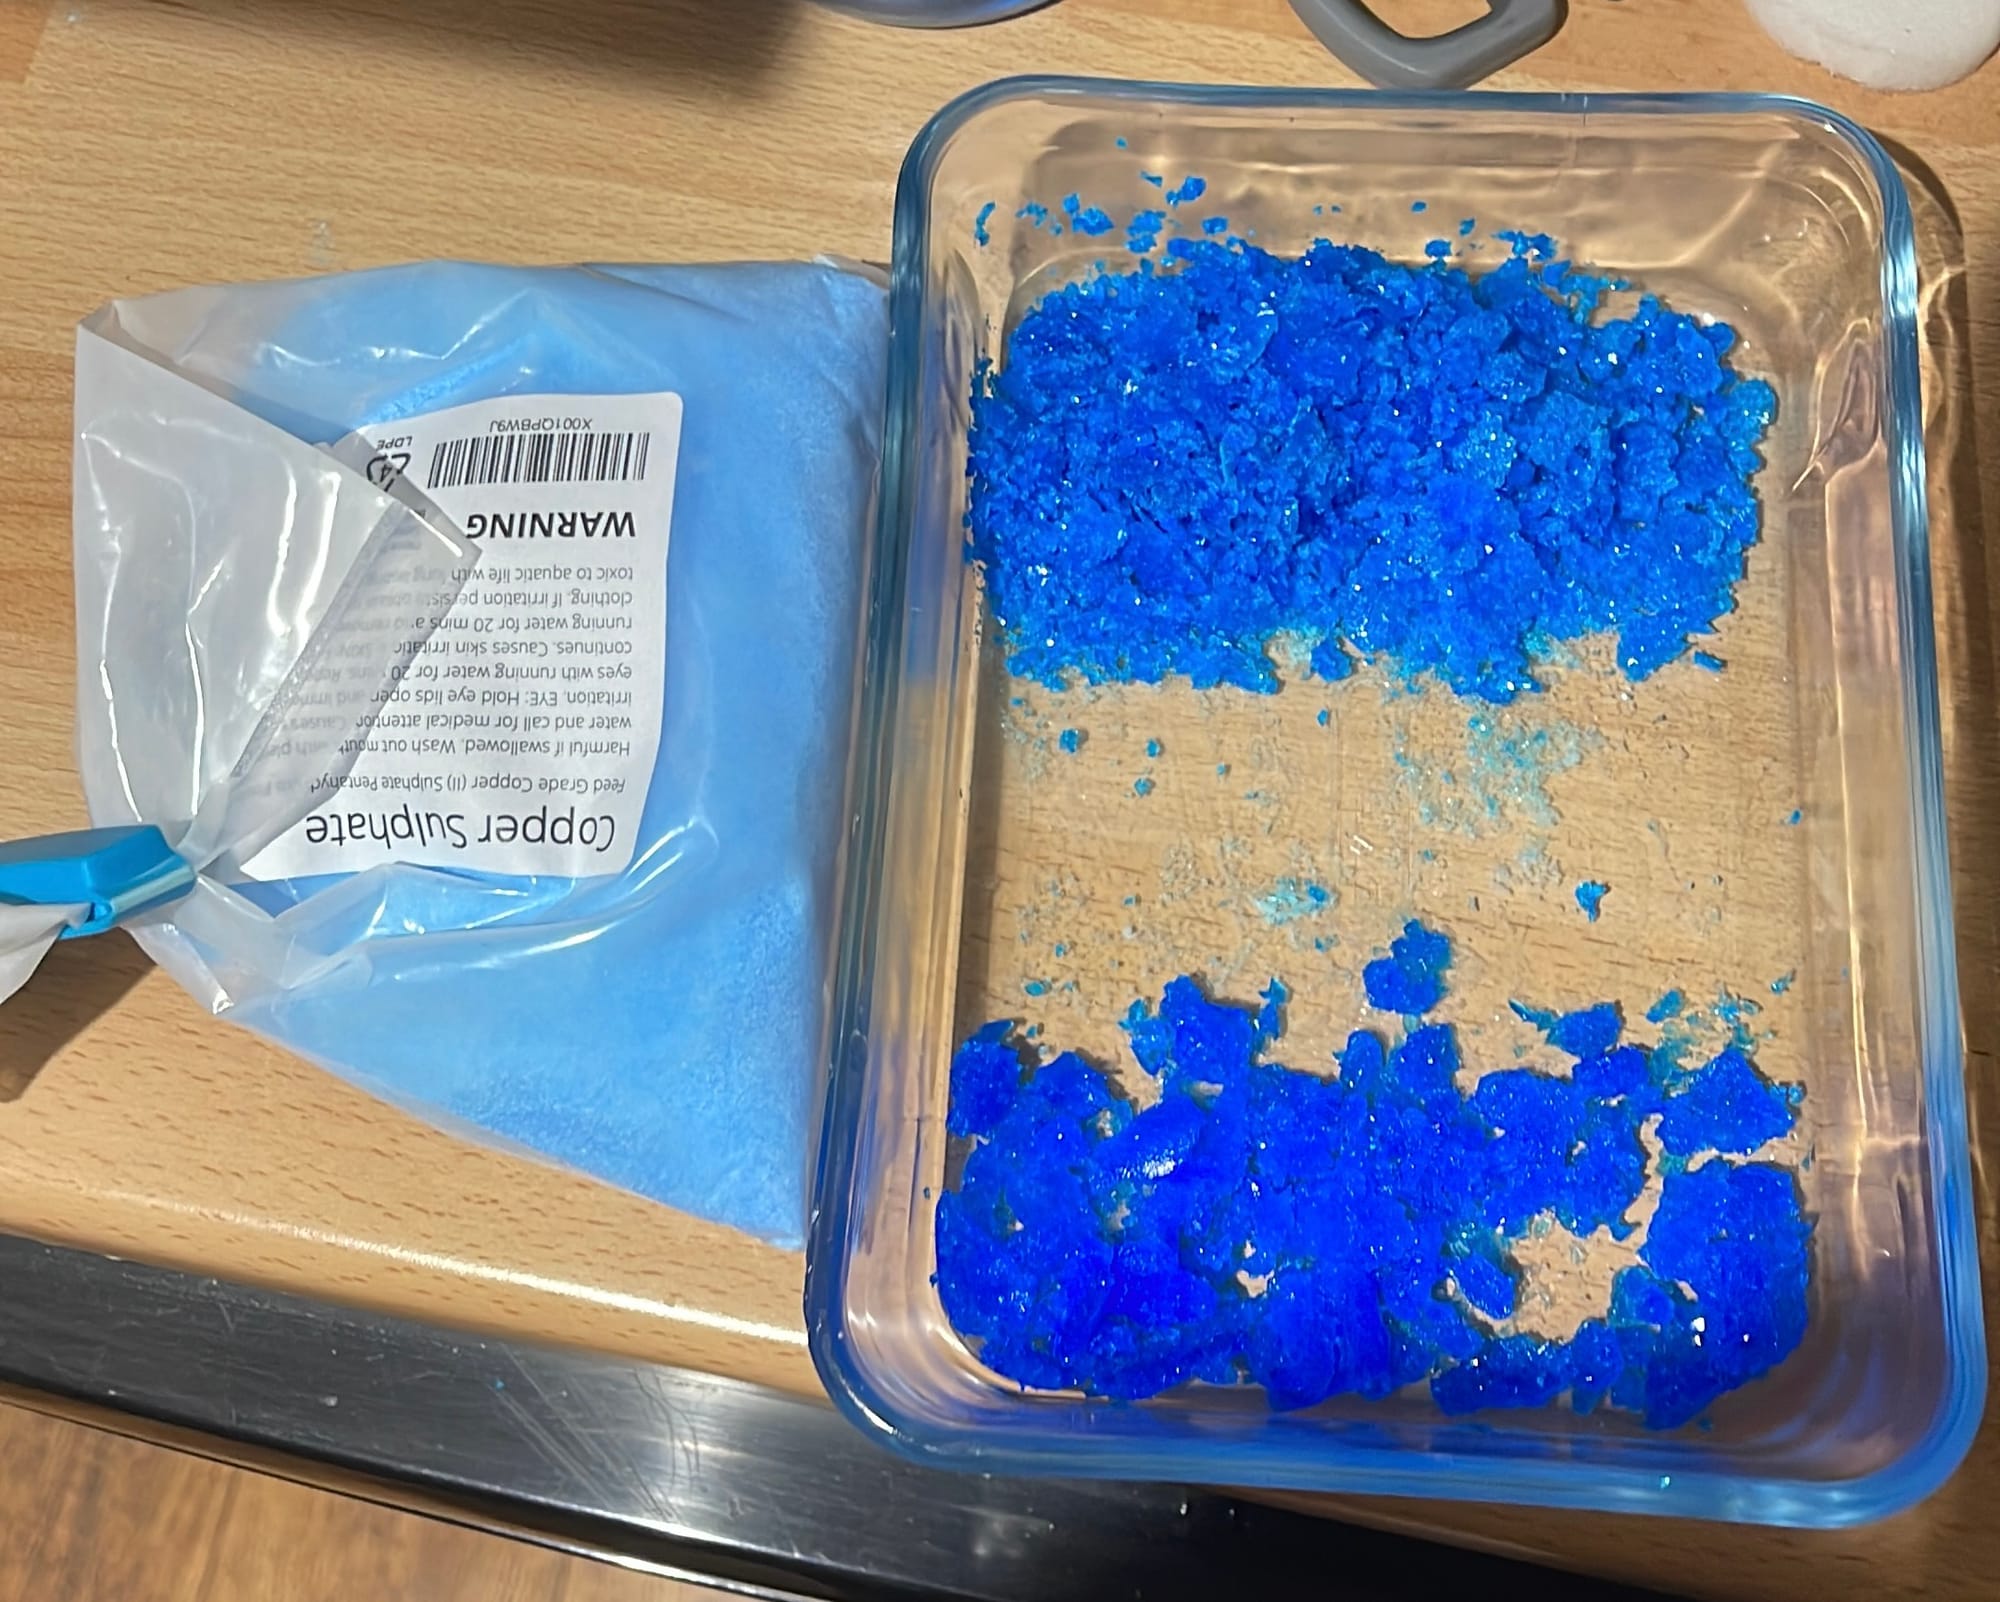
If your here you most likely are like me living the UK/EU and can't for the life of you find a cheap source of copper sulphate that is 99.9% purify. In my case the cheapest and most pure that I could find is 98.3% from a company called 'Intra Labratories'
If your source of copper sulphate is even lower purity than mine don't worry this process will still work to get you closer to that 99.9% purity.
It's actually quite funny because considering I've been ingesting the 98.3% purity stuff without a care in the world until I did this process I did not realise how dirty 98.3% actually meant.
In some cases sediment will be just different forms of copper like Copper Oxide and Copper Hydroxide but you can never know for sure. That's why you should learn from my lesson and only ingest as pure a copper as you can find or make.
First Step
You've now got all your equipment ready, you have your copper sulphate powder next to you ready for it to be purified. What next? You actually need to figure out how much of the powder you would like to purify, for me personally I did 150g but you can do any amount. The most important thing is that you have a ratio of 1:2 of copper sulphate to water.
For example
150g Copper Sulphate = 300ml Water
500g Copper Sulphate = 1000ml Water
I would not recommend doing any less than 50g with this process as honestly the yield is just not worth the time and effort.
A huge thing here as well is the water quality that you use, what's the point of purifying the crystals if your doing it with dirty water. I would recommend the following sources in order
1) Distilled Water (0 tds medical grade water)
2) Spring water / bottled water
3) Tap water (LAST RESORT please don't do this if you can help it)
If you are purifying your copper sulphate to make giant crystals you need to use option 1 because any impurities even from other minerals will ruin the look of your crystals. But if you are going to ingest the copper like myself option 2 is still okay and option 3 is only used as last resort and I'd still try run this through some type of filter like a brita fridge door filter jug.
I personally use distilled water I make myself which I run through charcoal and deionisation filters to make sure I have the cleanest water possible.
Mixing Your Ingredients Together
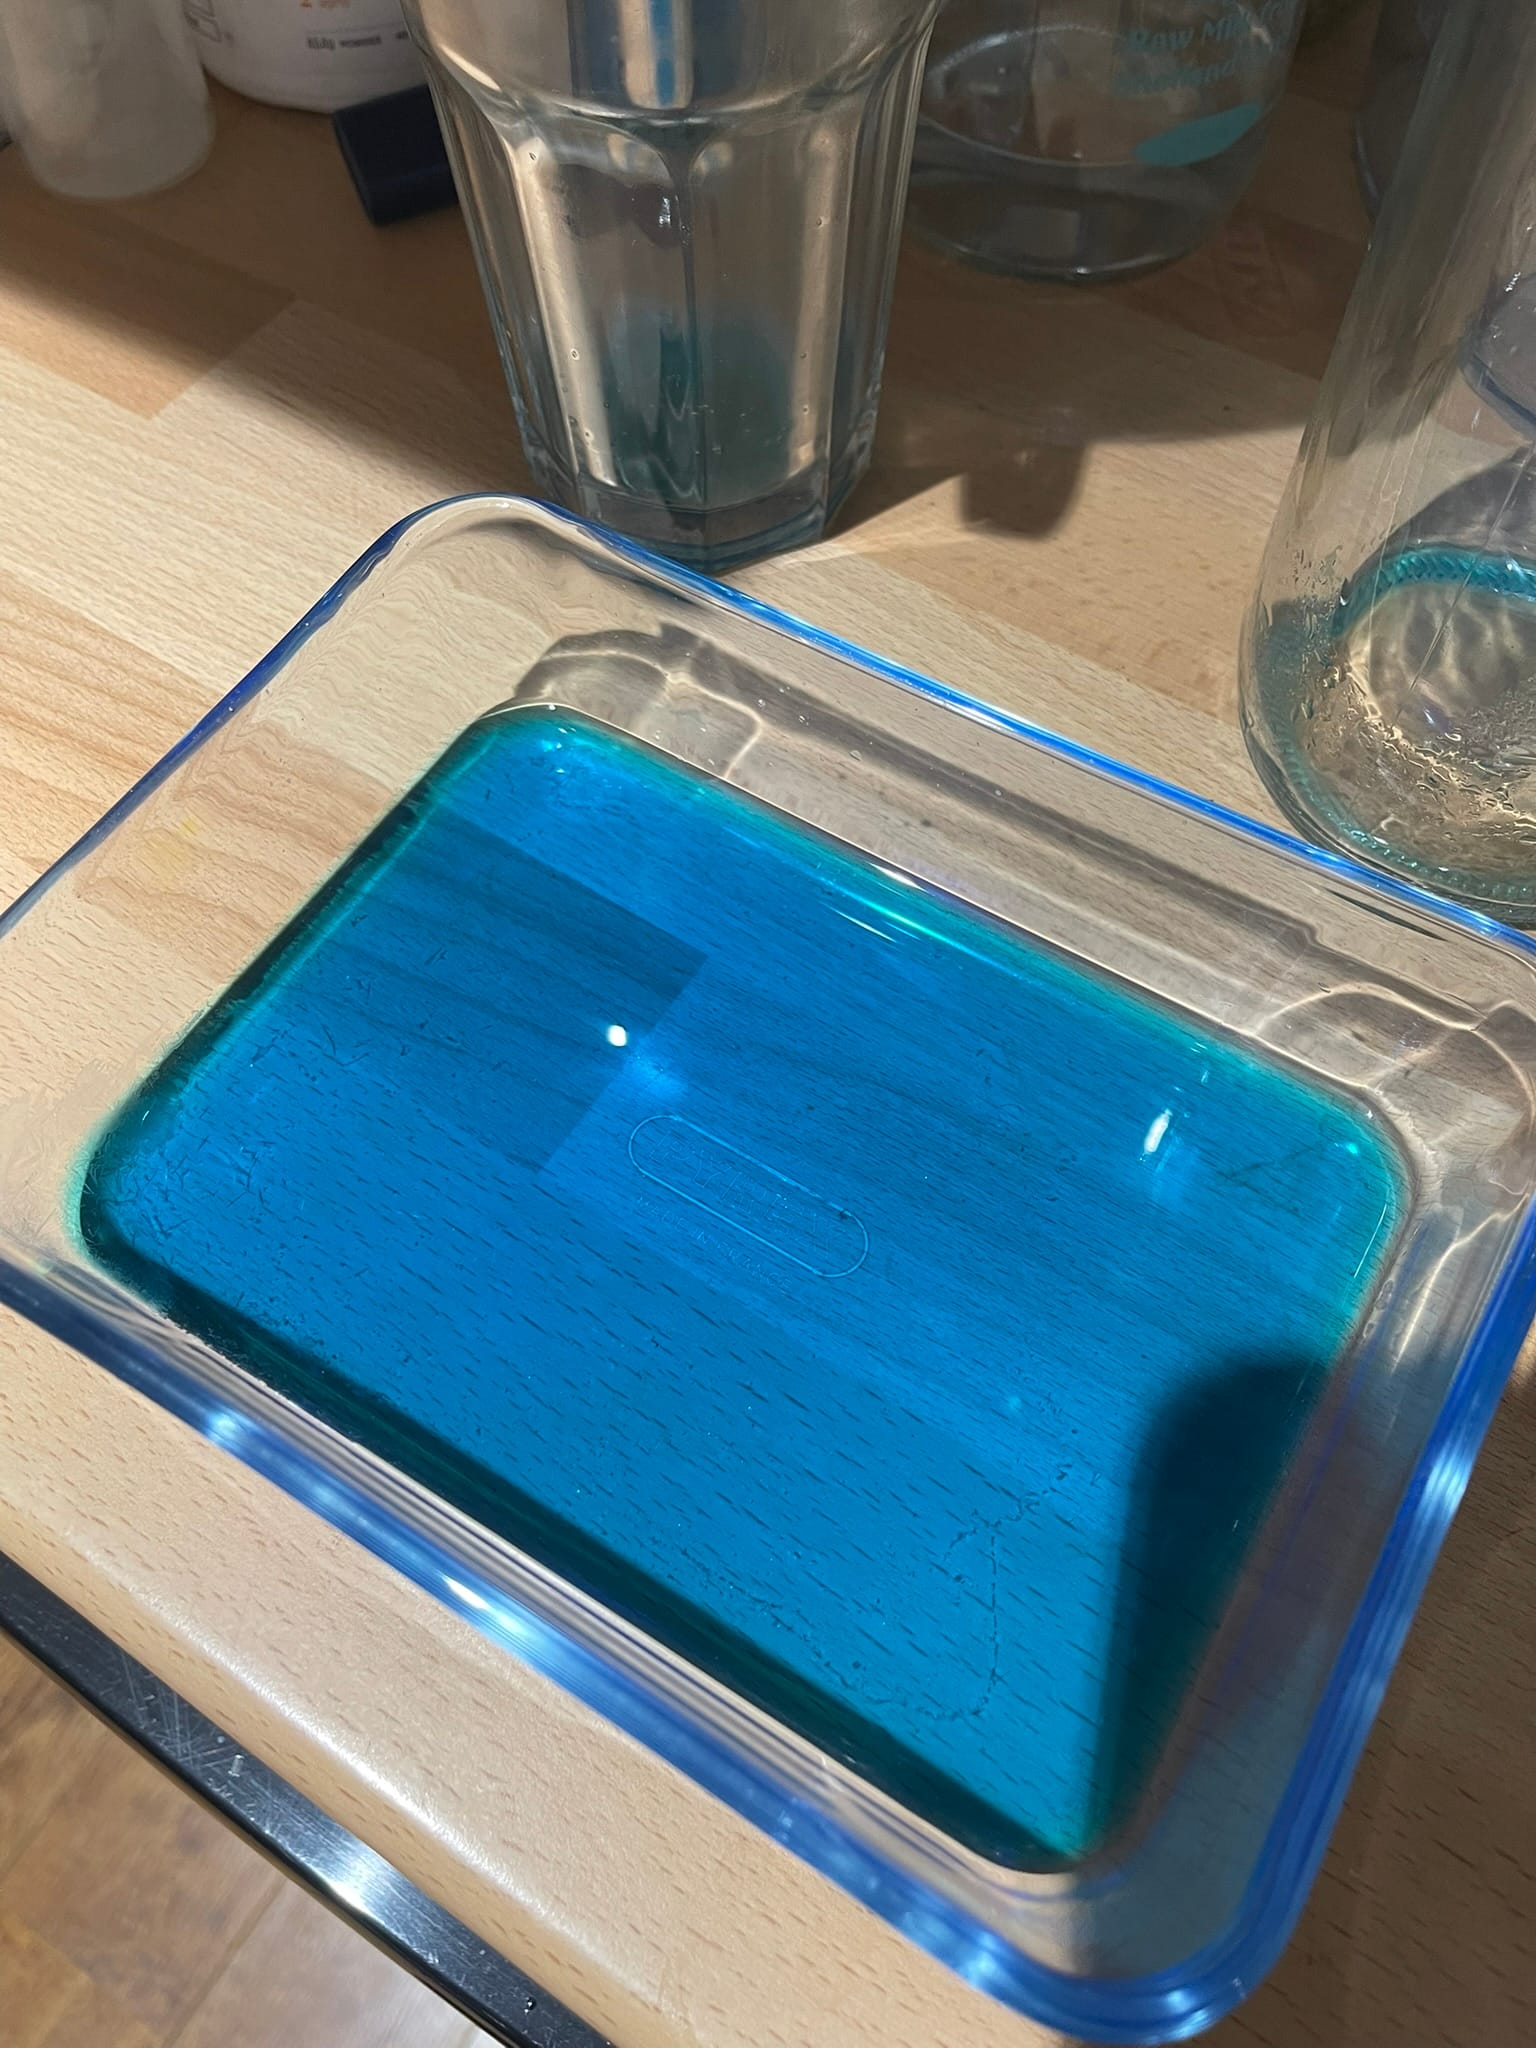
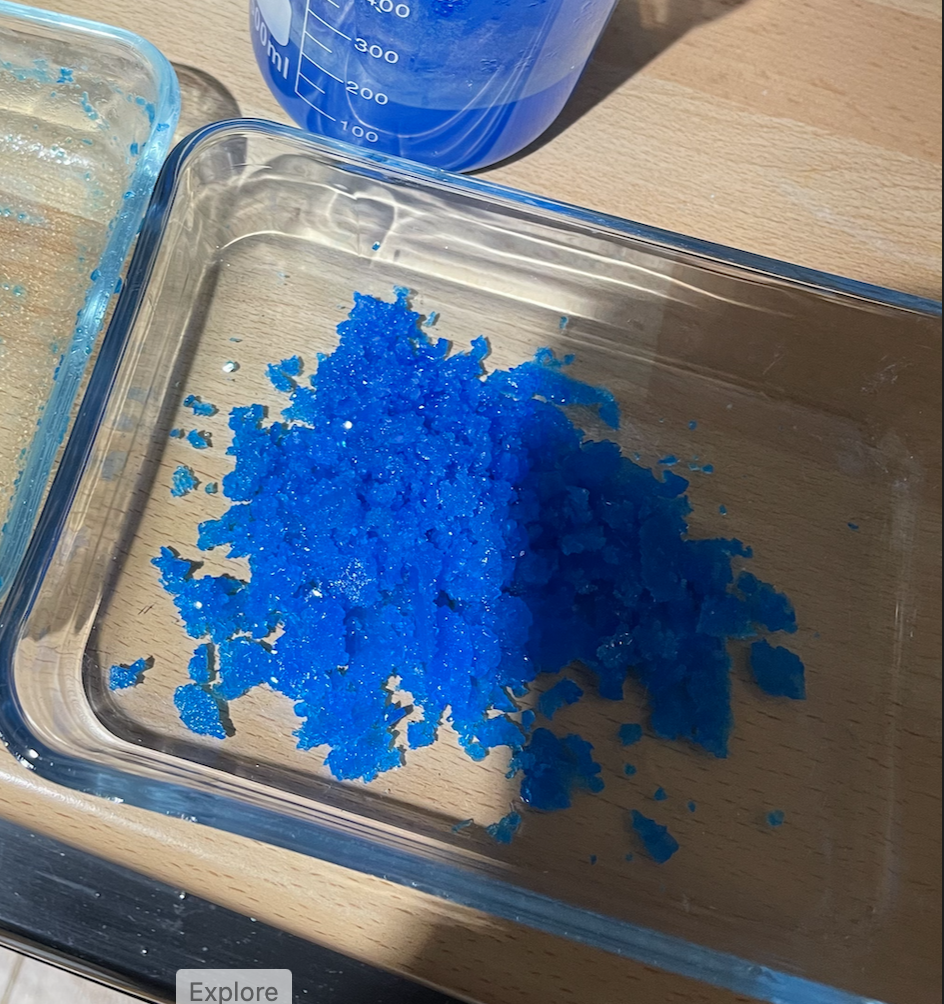
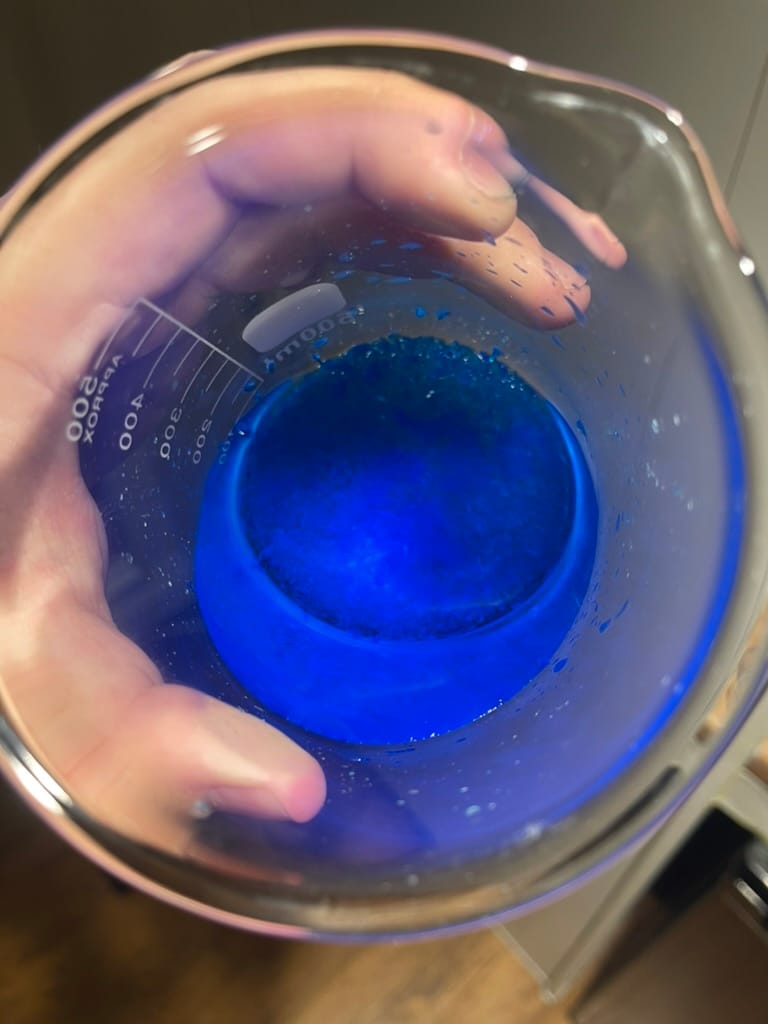
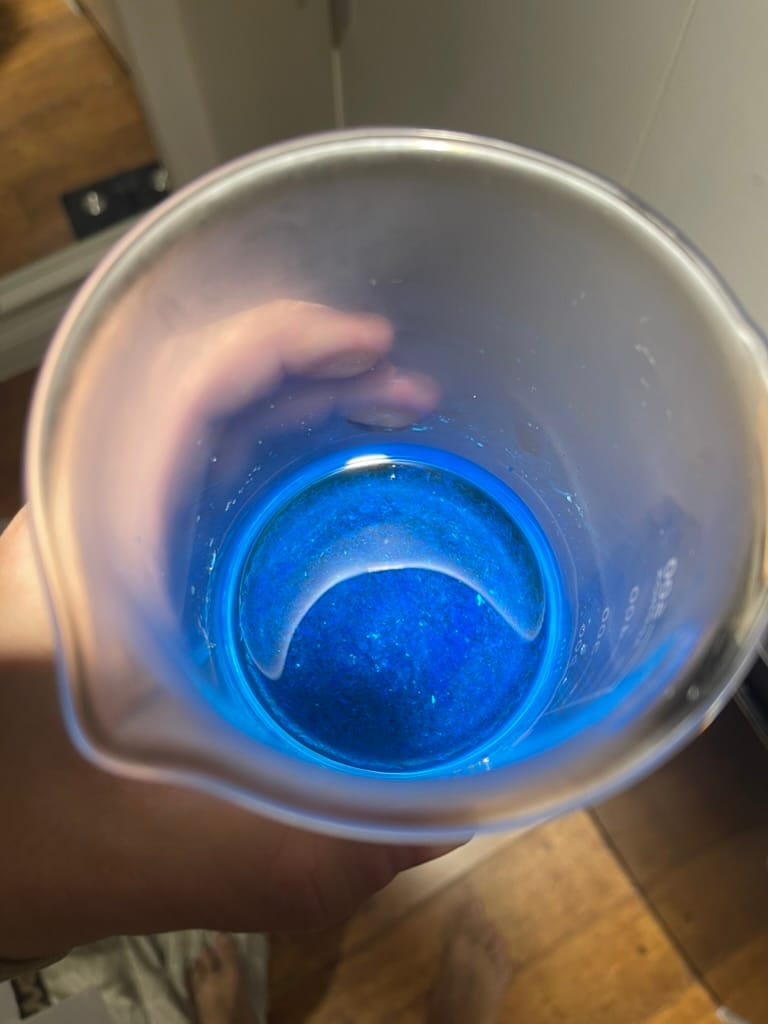
At this stage you should know how much copper sulphate you want to purify and have double the amount of water ready to go. Now get your heatable container and pour both items into it.

In my case I poured the 150g copper sulphate together with 300ml of water. As you might notice, a lot of your solution isn't dissolving into the water, this is because your water isn't soluble enough yet and here's the magic part, water actually becomes more soluble when heated.
Heating Your Solution
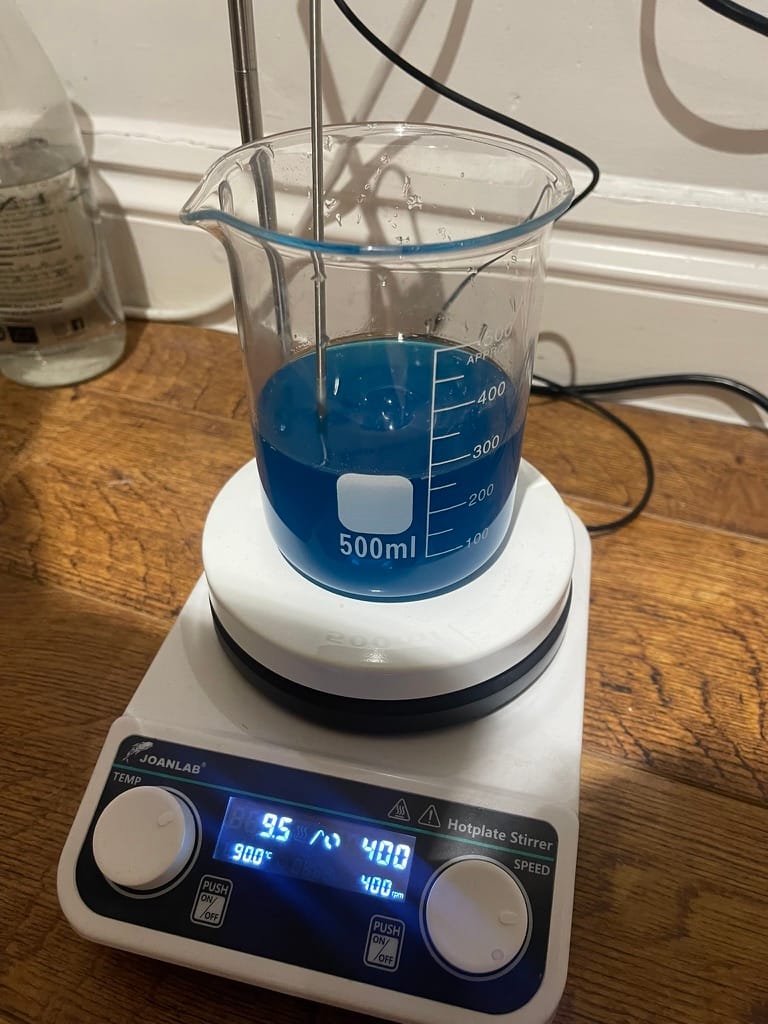
Get your solution and place it onto a heat source whether that's an oven/stove top, a bunson burner, hot plate etc. You ideally want the solution warm but not boiling (70-90 C / 158-194 F). You'll notice that as the water heats up your copper sulphate will be absorbed into the water, this is called dissolution.
In my case I use a chemistry stirrer and heater to make this a lot easier but it's not required. Without one it will just require watching over things a little more.
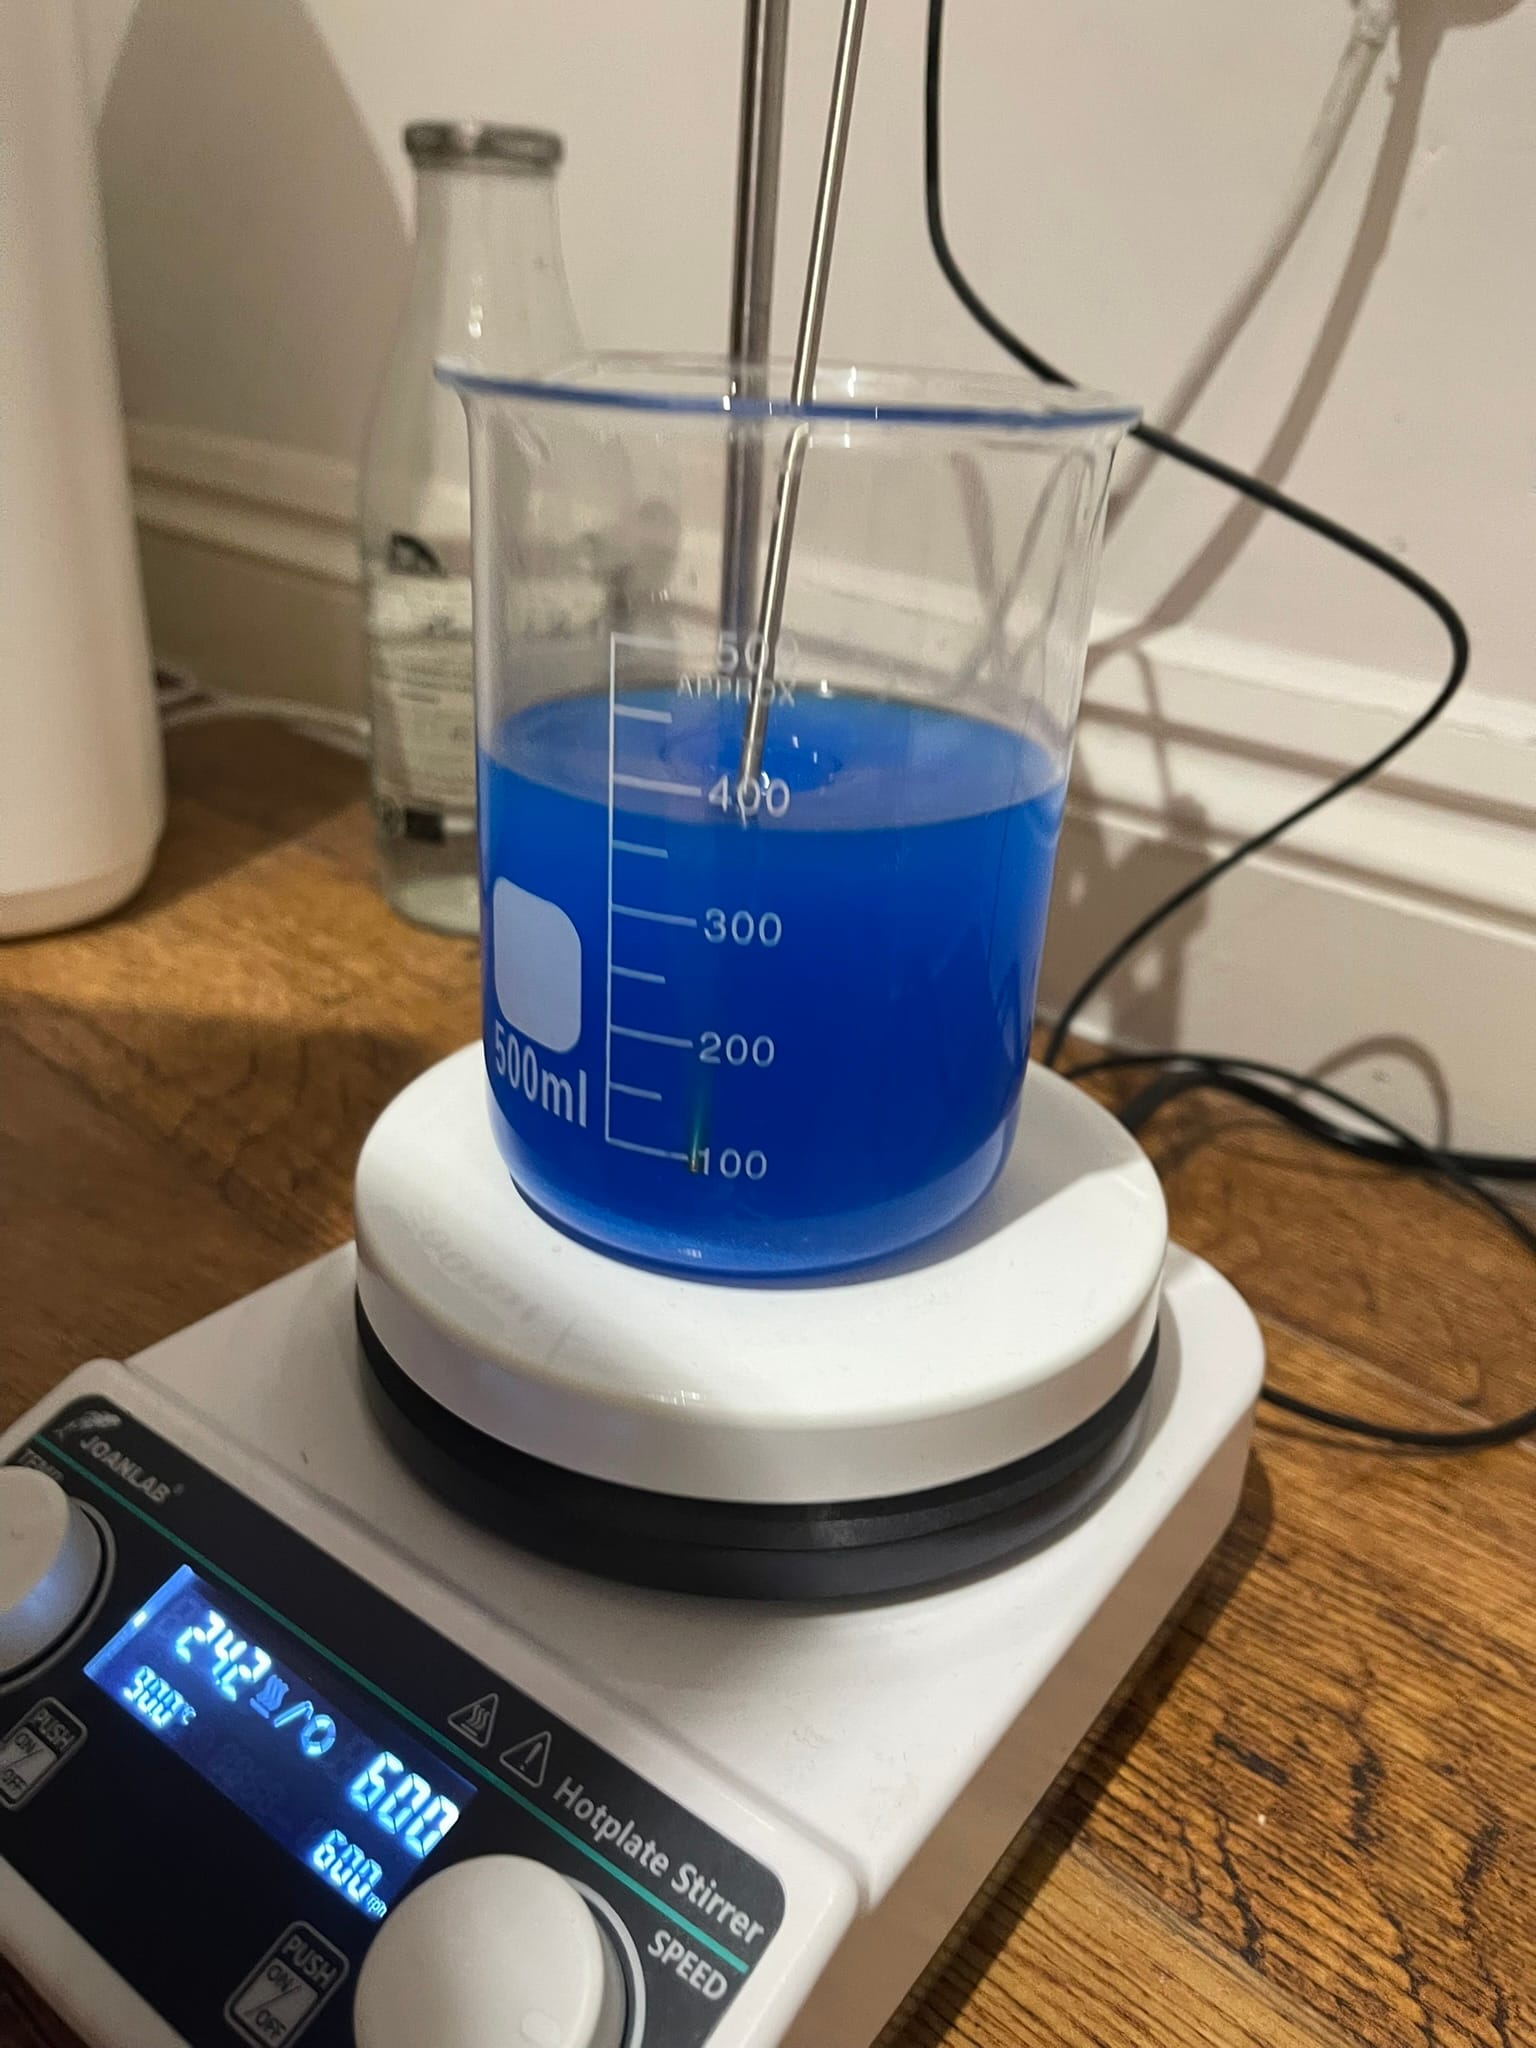
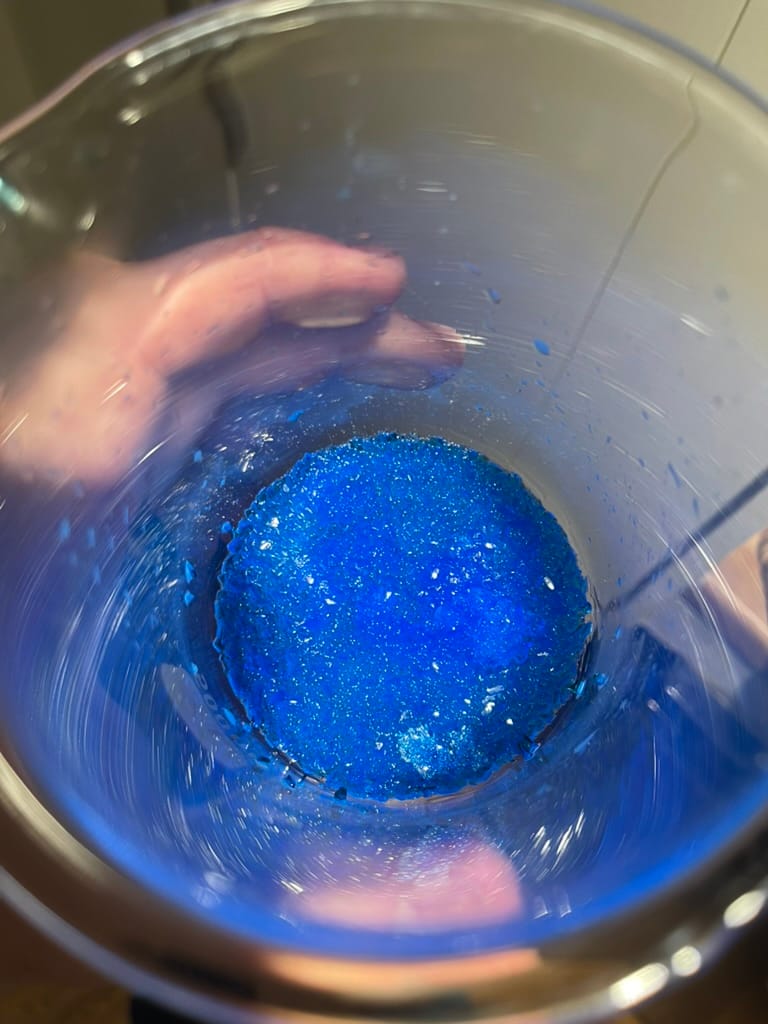
It will only take a few minutes to dissolve your copper sulphate into the water at a higher heat. So once you see pretty much no more sediment that's when you can take it off the heat.
You may still notice a few impurities at the bottom, but no need to panic these will come out in the next step.
Why This Works?
Here's a little bit of science and the reason why it's a 1:2 ratio, this is because what we are creating is a super saturated solution of copper sulphate in water. This is vital for the next step of actually forming crystals which is going to help purify the solution.
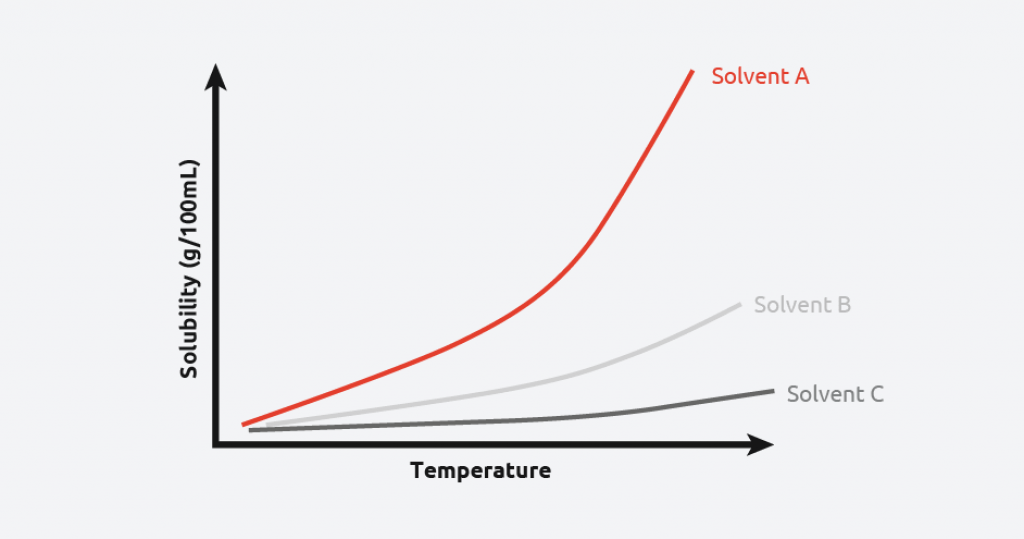
This graph showcases that as temperature of different liquids goes up it becomes more soluble. This is helpful for us because this means that with our heated solution more copper sulphate has dissolved into the water than normal.
Once we bring the solution back down to room temperate (in the next step) crystals will form because they are no longer able to remain dissolved in the water, this is called precipitation, and this is when a solid begins to reform which in our case is what becomes pure crystals.
Filtering the solution
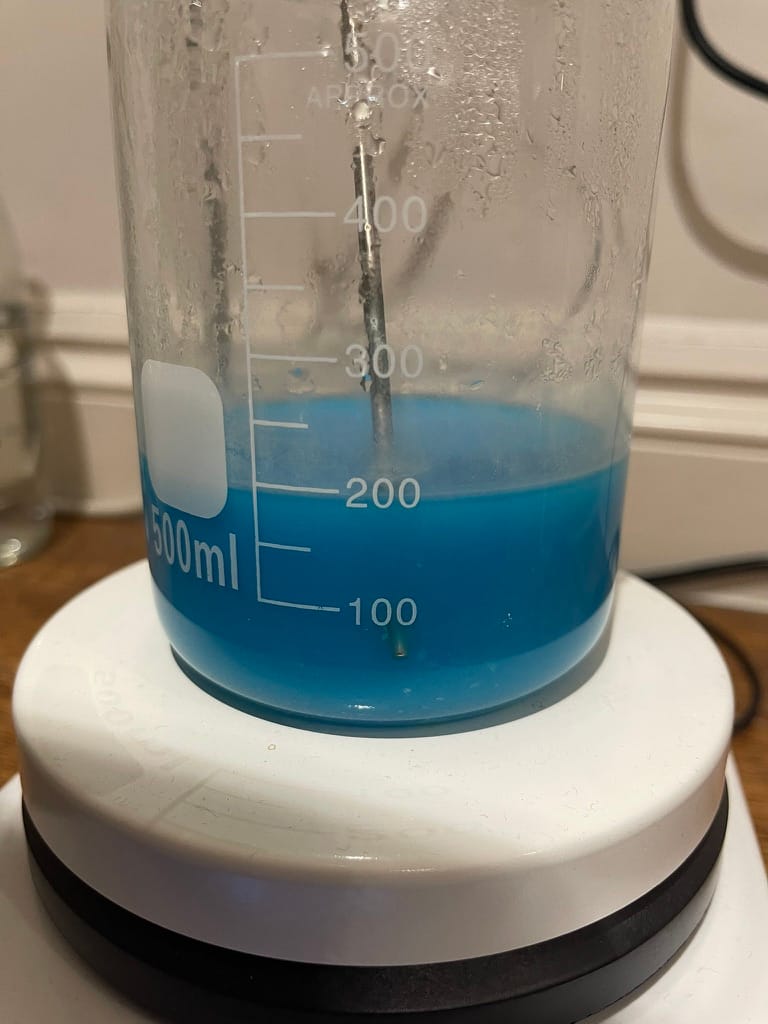
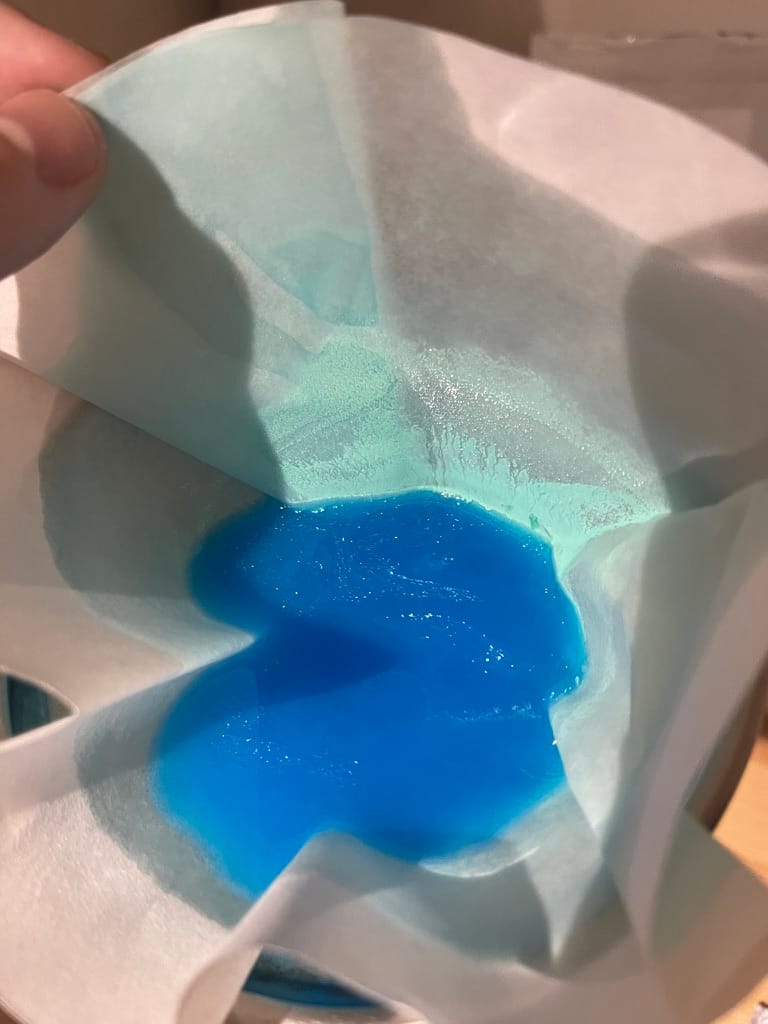
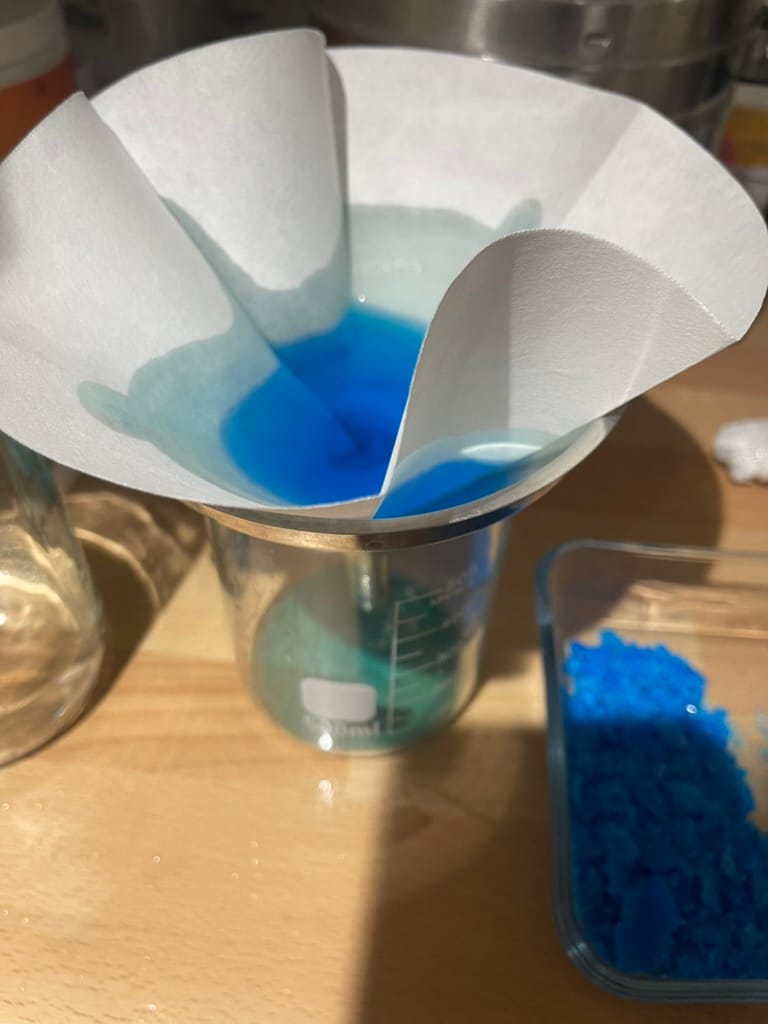
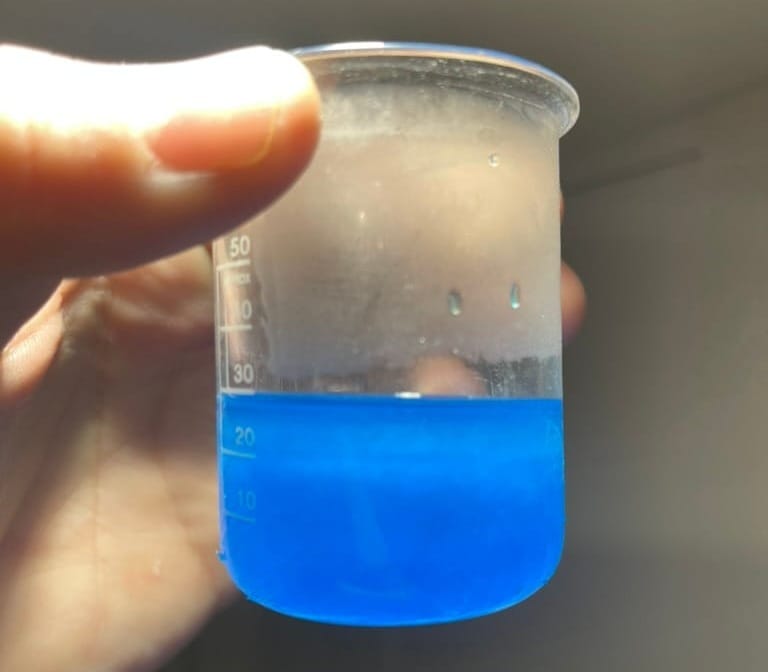
With our warm liquid solution that has just come off the heat we want to run this through some filter paper to remove all the impurities and sediment that hasn't dissolved into the water. You can collect the filtered liquid in a glass to pour into a bowl after or just filter it straight into the bowl, depending on what's easier for you.
Look how much more clear and blue the solution is just by filtering out all the crap and dust. During this step you may run into a few issues that I want to make you aware of.
1) If your doing a large batch of solution you may need multiple filter papers and need to reheat your solution, this is because as the solution cools it forms crystals that can block up the filter paper. So I recommend you filter in somewhat smaller batches so you can always heat your solution back up if needed before filtering.
2) If you have a lot of sediment in the bottom of your beaker try not to agitate your solution as you pour it and don't let the sediment go through right away. If you do this you won't have to use as many filters because it isn't being blocked up right away from the sediment which you can filter at the end.
Turning Your Solution Into Crystals
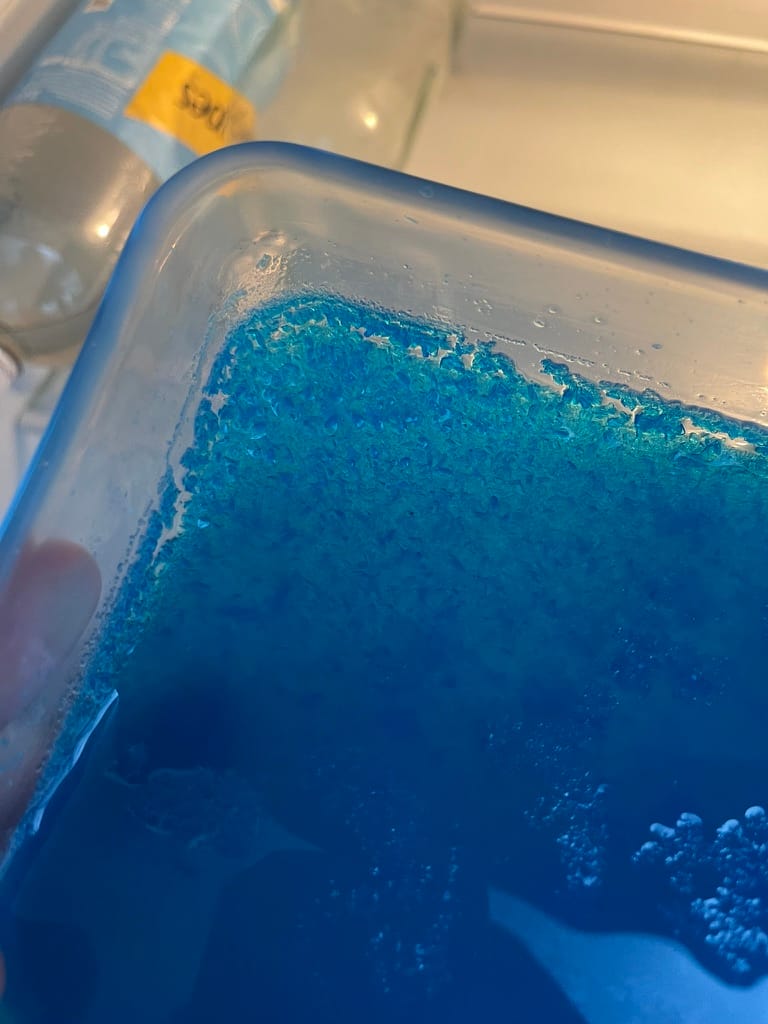
Once you've collected your copper sulphate and water solution into a bowl it will begin cooling down to room temperature and you may start to notice tiny crystals start to form as they precipitate out of solution. This happens due to the solubility of the water dropping with the temperature like I showed earlier.

The fastest way for the crystallisation process to happen is in a slightly cold environment, a fridge is perfect for this!
Place the solution into the fridge and leave it for a day, you can peak and agitate the solution as it doesn't matter at this stage if you start to get impatient and want to see what's happening.
When you come back a day later it should looking something like this...
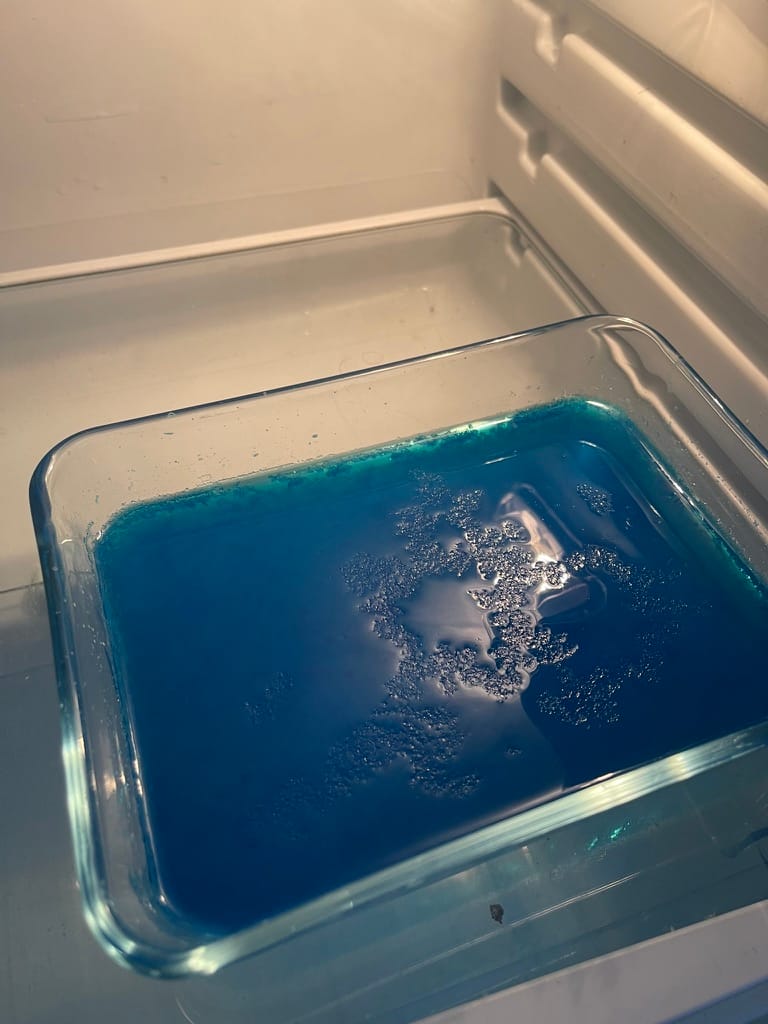
Crystals formed after being in the fridge for a day
Processing The Crystals
Next you will pour off the solution that is remaining into a container which can be the same container you used previously to heat the solution the first time around.
Unfortunately I didn't get a photo of me doing this but now you have your crystals on the bottom of your container you want to wash them with as cold water as you can. Don't worry that your crystals will just wash away, they might slightly but a negligible amount. But the colder the water the less chance of crystals dissolving because the solubility is much lower.
When I did this the water literally had grey almost dirty looking water come out, so make sure you do this until the water is clear that will at most take 2-3 washes.
Then pour off as much water as you can as this is the part where you want to dry out the crystals. Personally I let them air dry by a slightly open window but if you have a food dehydrator that works great too.
Once the crystals are dry / mostly dry store them somewhere for later. This is about the part where I start to feel like Walter White from breaking bad.
The great news is you've now completed your first crystallisation process WOO! You should have a batch of crystals that are drying and your left over solution. The bad news is were going to have to repeat the entire process above again using the remaining solution.
The Second Crystallisation
After my first run I had 275ml of liquid remaining and I started with 375ml (After adding 300ml water and 150g copper sulphate together). You will also have less liquid left as the rest of it has turned into beautiful crystals.
Evaporating Off Excess Water
Next though this crystallisation step is a little different in that we not only have to heat the solution again we actually have to evaporate off some of the water. We do this because it forces more crystals to precipitate out of the solution and turn into crystals for us.
To do this you want to heat your solution to just under a boil so that you can see steam coming off but it isn't a rolling boil. Then you want to keep evaporating off the water until you have 70-80% of your original solution amount left. In my case that means I have to go from 275ml to 192.5ml (70%).
Now keep in mind water boils at 95C so you want to stay around about 80-90C while doing this process. This prevents other forms of copper like copper oxide, copper hydroxide, basic copper etc from forming which will reduce our end yield.
I kept my solution between 80-90C until it evaporated off the correct amount of liquid.
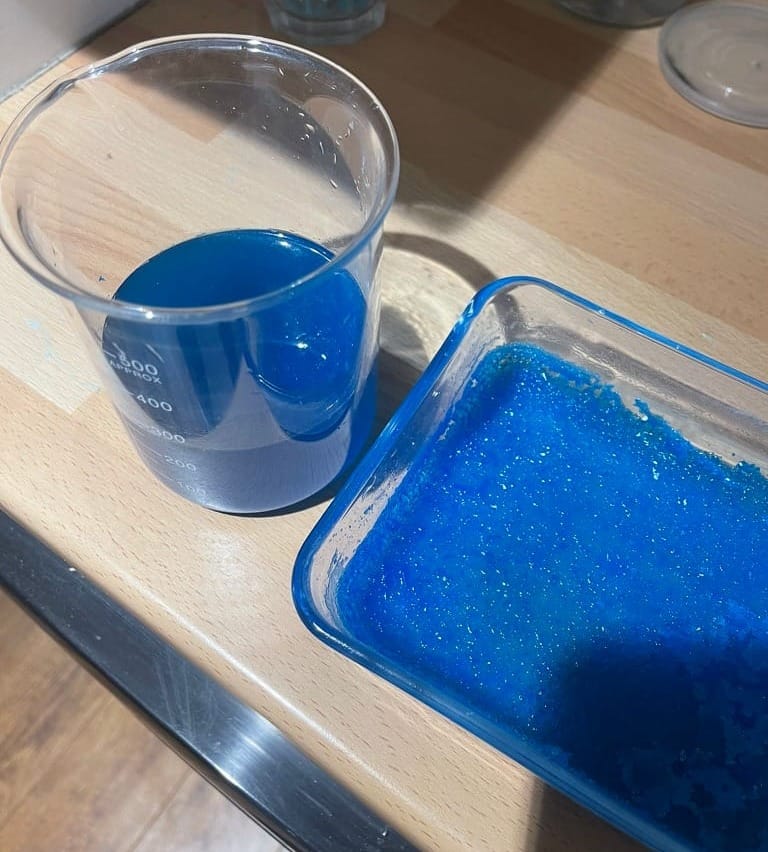
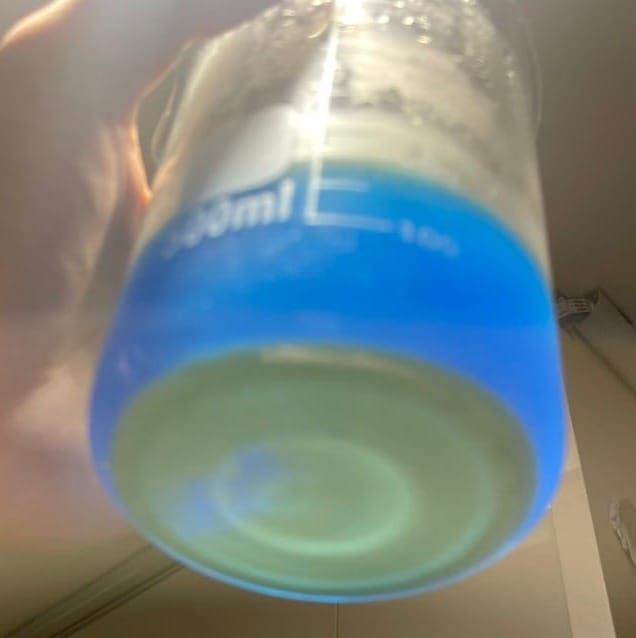
If you're eagle eyed enough you might have noticed that the solution has turned into a more light blue and there is a white layer around the bottom of the solution. These are those pesky different forms of copper that I was trying to avoid but have ended up forming along with impurities.
This isn't the end of the world if it happens to you it just means your yield of pure copper sulphate will be lower. You can actually turn these back into copper sulphate too if you know what your doing and have access to sulfuric acid, but honestly copper sulphate is cheap enough that it's not worth the hassle.
Cleaning Up The Solution
Next you want to clean up your solution from all the different forms of copper and impurities that have appeared. You do this the same as before and filter the solution using filter paper / coffee filter along with your funnel.
What I also recommend for this filter step is first wait for the solids to fall to the bottom of your container. Then while the copper sulphate solution is still warm try to only pour the blue liquid into the filter paper bits at a time.
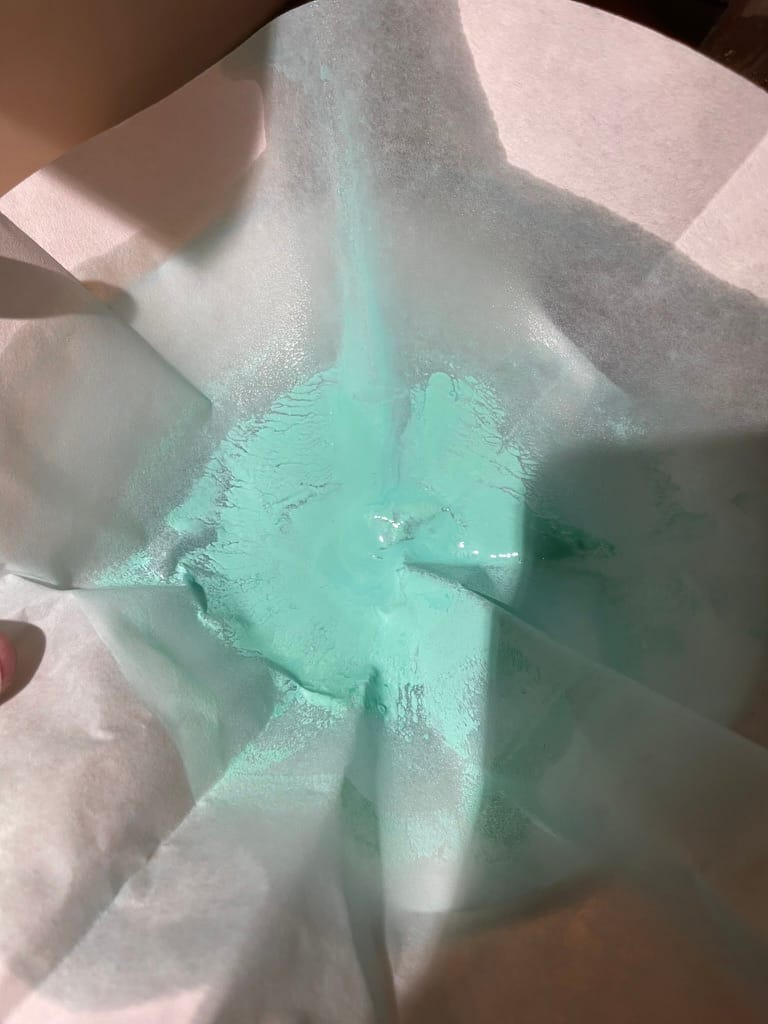
What remains after solution went through filter paper
Testing The Impurities
You can skip this step but I found it very interesting to test the impurities that I have collected.

On the left I added Vitamin C to act as a reducer to see if we had Copper(II) ions (Cu²⁺) and if they would turn to to copper(I) (Cu⁺). Which if that's the case it would of turned colourless to reddish brown. As it only slightly reacted though I believe it had very little amounts of Copper(II) ions.
In the middle as you see it's gone brown! That was using 12% Hydrogen Peroxide solution. This means that we have copper(II) hydroxide and it's been oxidised into copper(II) oxide (CuO).
Then finally on the right we have the white vinegar test which didn't change at all.
Next Batch Of Crystals
But anyway back to it, what do we do with our liquid we've just put through the filter paper? Well with this you need to cool it down as it's about to produce your next batch of crystals!
Repeat the steps as before and put this liquid into a container that you can put in the fridge and wait 1 day for the crystals to form.
Coming back after 1 day to see the crystals that had formed
After you've poured off your liquid into another container make sure that you repeat the washing step on the crystals with COLD water.
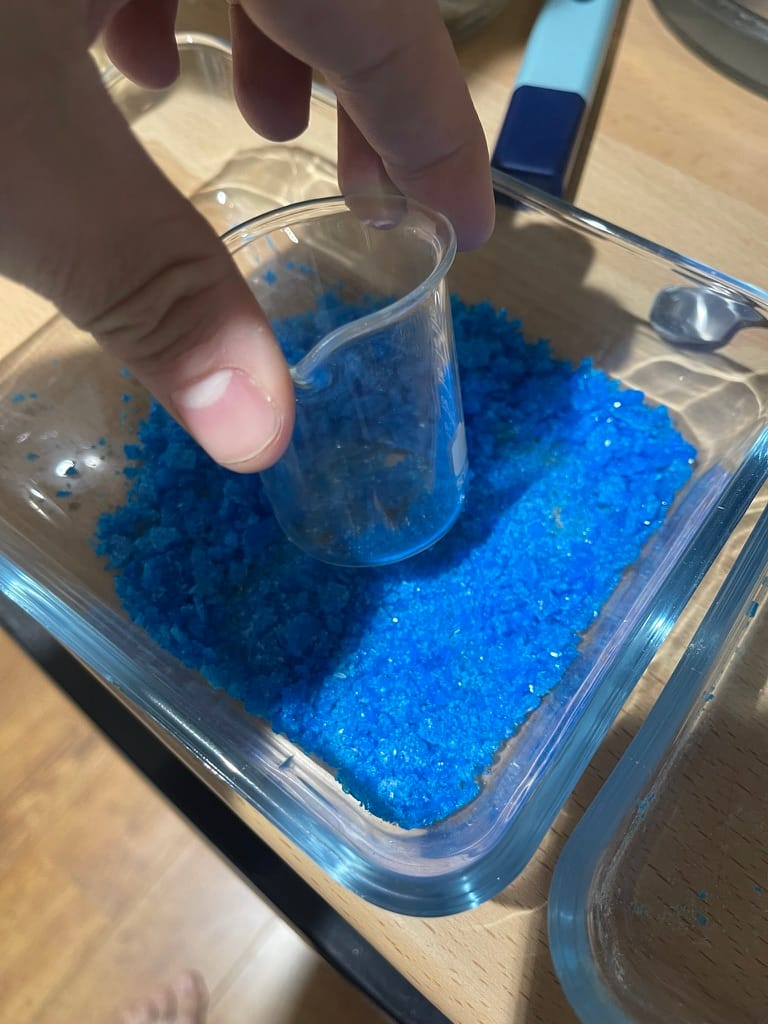
Now you can place these crystals with the first batch of crystals that you made
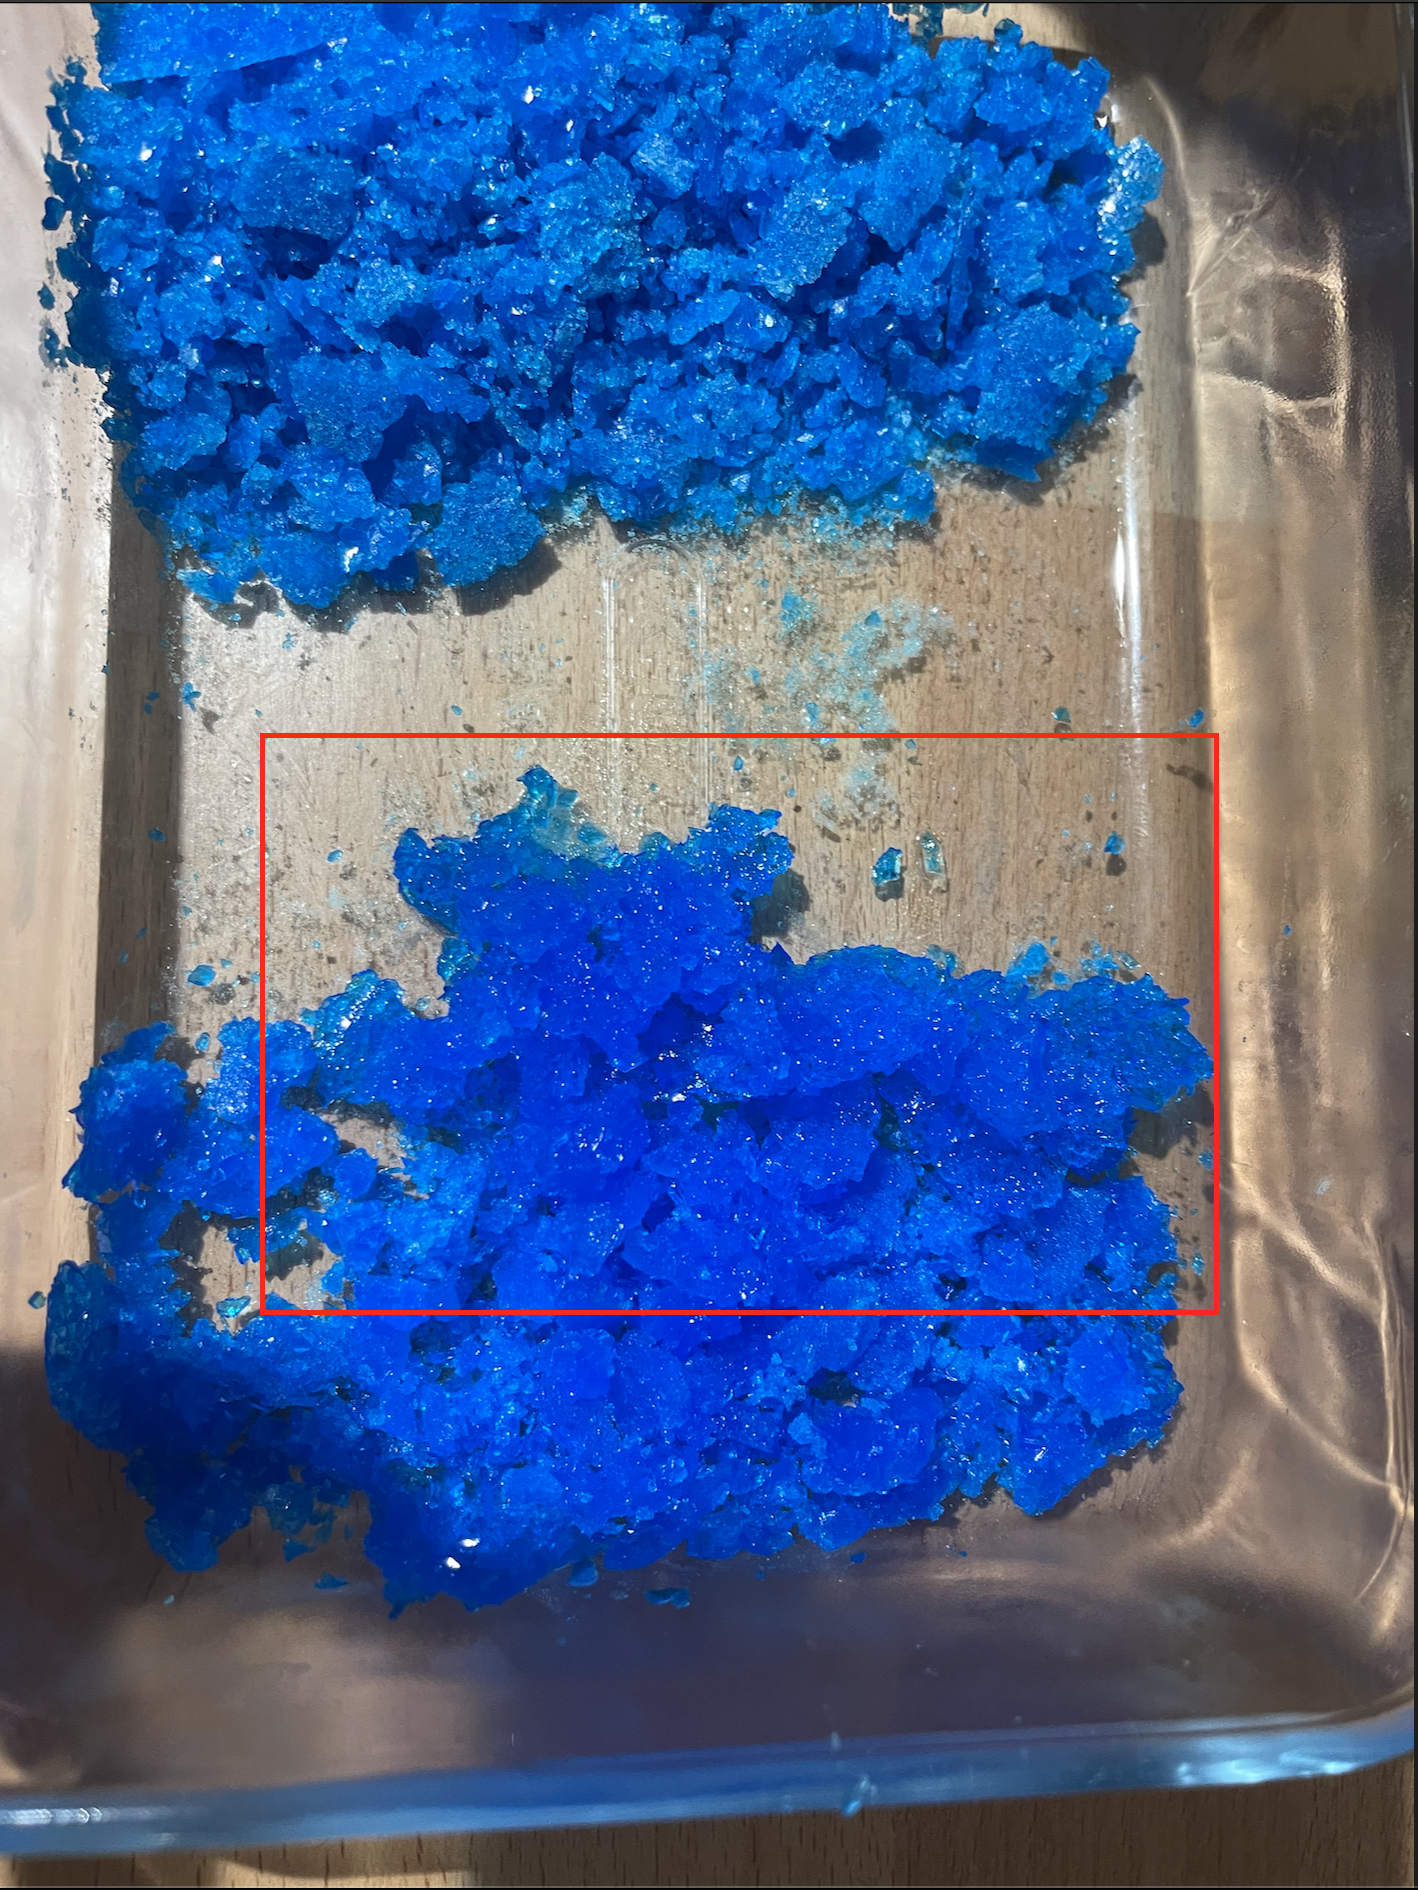
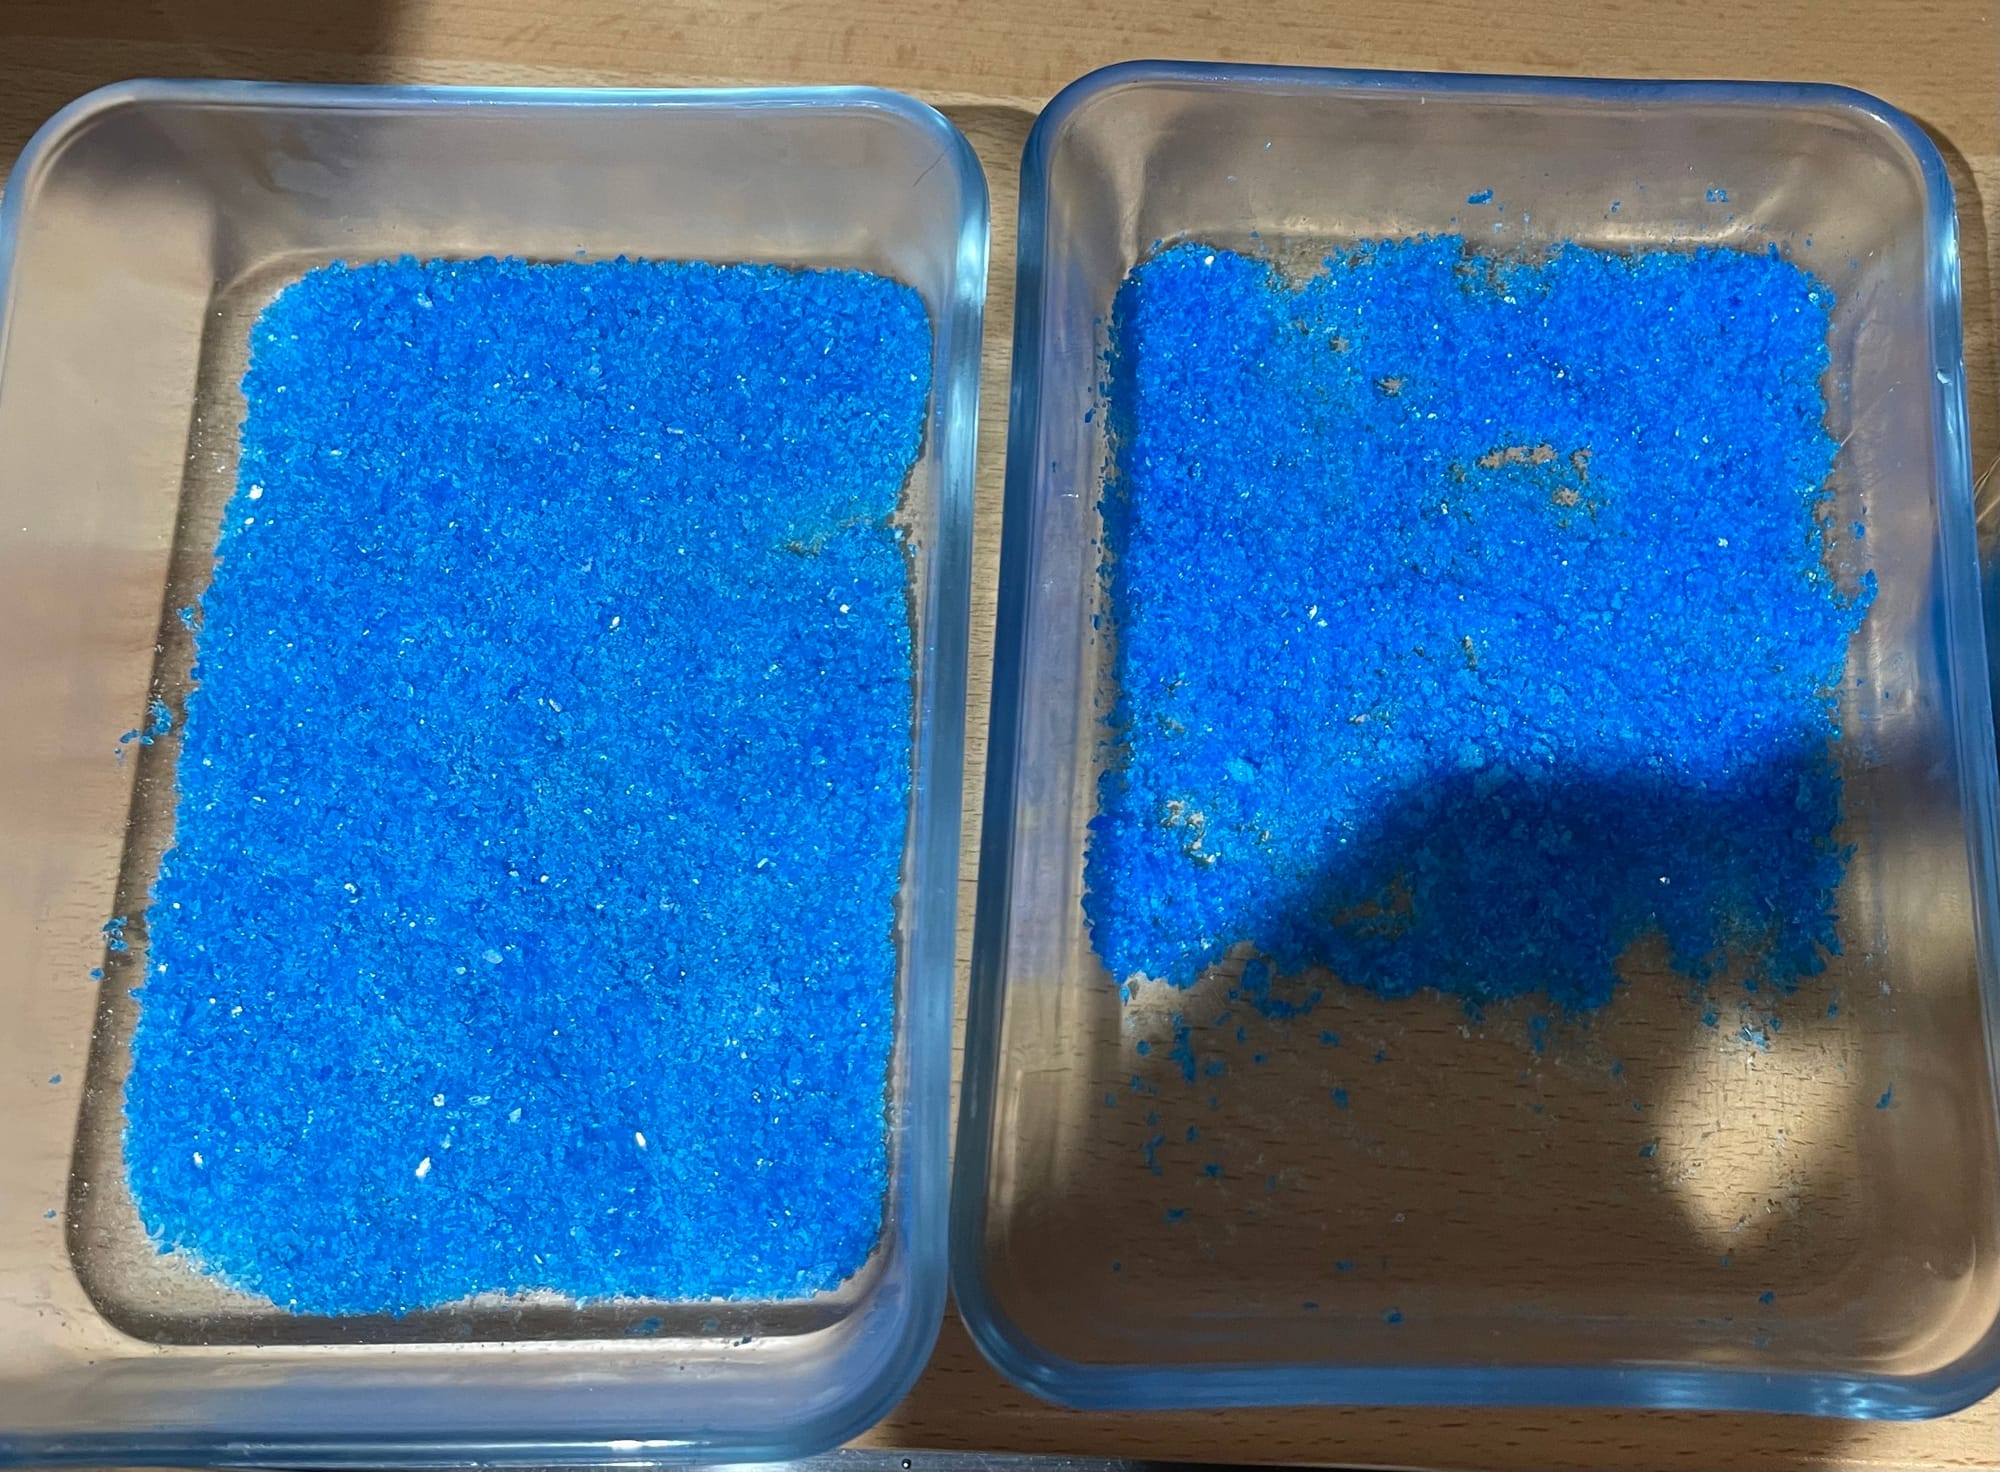
Here you can see I've now got both my first batch of crystals and my second batch of crystals in a tub along with the original bag I started with.
Can you notice the difference in colours? The first batch is on the top and my second batch is on the bottom. Look how much more blue the second batch is!
The reason for this is because the crystals are getting more and more pure as we repeat this process. Speaking of which it's time to do the third run with the remaining liquid that you had left.
Repeating The Crystallisation
In my case I had 150ml left which means to dilute down 20-30% I need to evaporate off water until I reach 105ml of solution. Then repeat the steps as before
Repeating the process and waiting a day
Stopping Crystallisation
As I'm sure your getting the picture of how this works by now, you keep repeating this until your left with 10-20% of the original volume of liquid. At this point you can just throw that solution as it's pretty much waste water and impurities.
In my case as I started with 375ml that would mean 10-20% is 37.5ml to 75ml. So eventually my solution was around this amount and I just threw this away.
After all your hard work and days passing if you've followed along this far you should now be left with a tonne of crystals. In my case I separated them out slightly.
Our final products
On the left is the first batch of crystals and on the right are all the other batches of crystals combined. The way I got the crystals to look like this was wait for them all to air dry and then I crushed them with the bottom of a beaker. Also you may notice the colours look way more similar I'm not actually sure why I guess as you break them up smaller they get lighter who knows 🤔.
The reason I split the crystals out is because the first batch depending on your use case may need to go through the entire process again to ensure an even higher purity. Or alternatively you could repeat the entire process again with all the crystals to ensure they are all the same purity. But for me personally I would only put the first batch of crystals through this process.
What was my final yield?
For those wondering my final yield was 80g of pure copper crystals from my original 150g. This is actually a lot less than I was expected and I should of got around 110g but I know exactly why this is the case and don't worry I've made this tutorial so that you do better than my run and get a great yield!
1) Keep your temperatures as low as you can while still boiling off water, this stops any other forms of copper from forming and lowing your yield.
2) Make sure not to use huge filter papers that soak up lots of liquid, in my case I used filters way bigger than needed so each time I used one I lost way more solution than I should of.
3) Making sure to wait enough time for the crystals to form, I was taking mine out every 12-16 hours. The longer you leave them the more crystals will form up to a point around 24 hours is the sweet spot.
Cleanup
Here comes the boring bit, you may of already been cleaning up your equipment as you've been going along, but in case you haven't copper is relatively easy to get off everything you've used in this process, it just requires really warm water and it pretty much dissolves straight into the water and washes away.
But if crystals form on your equipment you really don't have to worry as it's not something that's impossible to clean off.
A Note On Purity
To know if your crystals are getting more pure you'll start to notice much nicer looking bigger crystals. When you first did the steps the crystals were smaller and way more jagged but as you go through your crystals will start to be more smooth and nice looking.

Summary
A quick summary of the numbers and values required throughout the process
- 1:2 ratio copper sulphate to water
- Boil off 20-30% solution after your first crystallisation step
- Your finished when you have around 10-20% of the solution left
Final Talk
I just wanted to thank you! If you've read this far in the tutorial I really hope you've managed to create your pure copper crystals which means I've done my job with this post. I really couldn't find anything else explaining in a lot of detail the process which is why I took the time to write this so I hope you got the value out of this post that you was expecting.
Bye for now